Watch our short video tutorials to learn how to use Your Notts Directory, manage your account, and keep your information up to date.
On this page:
- Creating a new account
- Dashboard and favourites
- Creating and managing a listing
- Adding opening times
- Creating a personal assistant profile
- User dashboard quick start guide
- Declined listings
Creating a new account
New to Your Notts Directory? This video guides you through creating an account, helping you access features such as saving favourites, managing listings, and updating your information.
Dashboard and favourites
Get the most from your account dashboard. This video explains how to navigate your dashboard, manage your listings and profile, and save services to your favourites for quick access later.
Creating and managing a listing
Want to promote a service, group, or organisation? This video shows how to create a new listing, update information, and manage your content to keep it accurate and up to date.
Adding opening times
Need to display when your service is available? This video demonstrates how to add and update opening times, helping visitors find the most accurate information about your service.
Creating a PA profile
Looking to offer Personal Assistant services? This video explains how to create a PA profile, complete your details, and make your profile visible to potential employers and service users.
User dashboard quick start guide
User login area
Once you have logged in you will be brought to the login dashboard (below). The buttons with icons at the top of the page can be used to navigate the user dashboard.
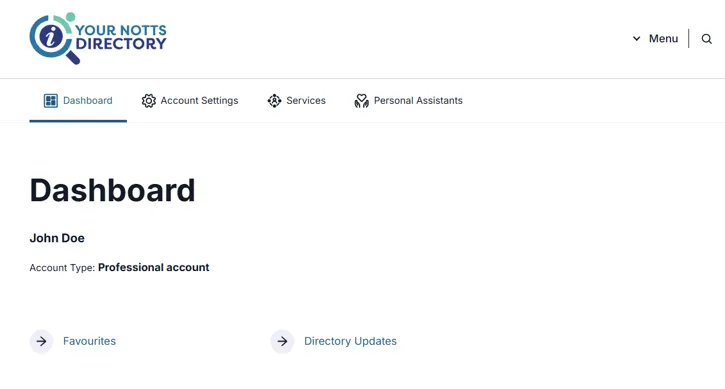
"Dashboard" you can access your favourites
"Services" allows you to manage your listings or create new ones.
"Personal Assistants" allows you to create and manage PA profiles or PA adverts.
"Account Settings" allows you to change security details for your account
Creating and managing your service listings
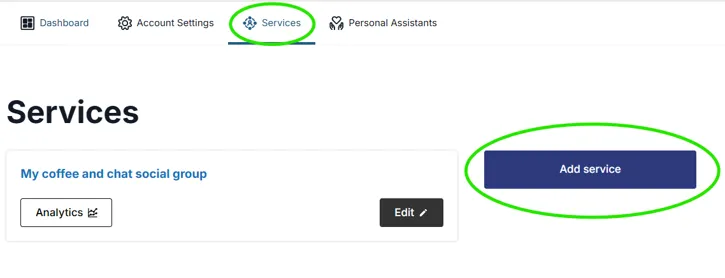
Navigate to the "Services" tab. Here you can edit your existing service listings or click the "Add Service" button to create a new one.
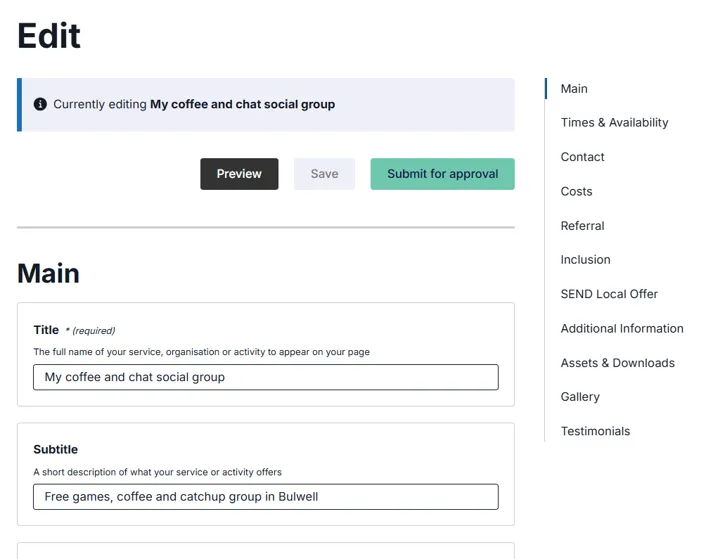
You will then see a form with several text boxes. Fill in as much information about your service as you can.
- You can save your progress at any time using the "Save" button at the top or bottom of the page and return later to finish it.
- After saving, you can use the "Preview" option to see how your listing will appear to the public.
- Once you have completed the form, click "Submit for Approval". We will review your listing and, if everything looks correct, it will be published on the website within a few days.
Declined listings
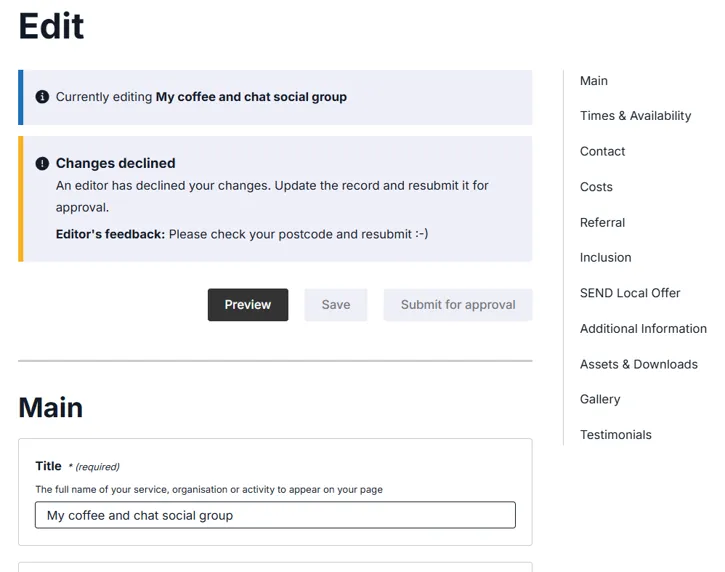
If we notice an error wrong with the listing you have submitted, when you login and access the services tab, you will see it has been flagged with a red icon saying "declined"
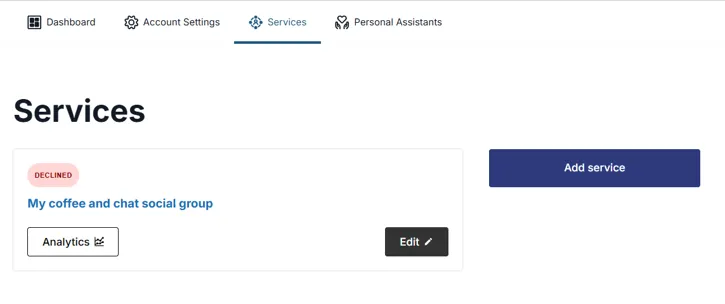
Click the "Edit" button on the flagged listing and you will see information on why the listing has been declined. Correct the information suggested and then just click the "submit for approval" button to have it rechecked.